How to Make Microfilm and Microfiche in 2025: A Simple Guide
If you’re looking to create microfilm or microfiche in 2025, you’ve come to the right place. In this guide, we will walk you through the modern process of creating microfilm and microfiche, using both traditional and digital methods. We’ll cover everything from preparing documents to the final steps of quality control. Whether you’re working with a microfilm camera or a digital archive writer, you’ll find the process easier than ever.
What is Microfilm and Microfiche?
Microfilm and microfiche are both forms of micrographic media that store documents in a reduced size. They are commonly used for archival purposes, as they save space and provide long-term preservation of documents. In the past, creating microfilm involved using a microfilm camera to capture paper documents. But today, we can use digital archive writers to convert digital files directly to microfilm, making the process more efficient and precise.
Step-by-Step Guide on How to Make Microfilm
Step 1 – Prepare Your Documents
The first step to creating microfilm is preparing the documents or digital files you want to archive. You will need to decide whether you are using a 16mm or 35mm microfilm roll based on the document size and the level of detail. For example, 35mm microfilm is typically used for larger documents or files that require more detail.
- Scan Paper Documents: If you are working with paper documents, start by scanning them. This converts your physical files into digital format, which will then be written onto the microfilm.
- Organize Your Files: Once your documents are digital, organize them in a folder and prepare them for transfer onto microfilm. This could include editing or cleaning up any scanned images for optimal clarity.
Step 2 – Writing Documents to Microfilm
In the past, creating microfilm was done with a microfilm camera. This process involved placing a paper document on a special table and capturing it using a camera. This method was time-consuming, and quality control was difficult. It also led to higher costs due to the need for multiple attempts.
Using a Digital Archive Writer
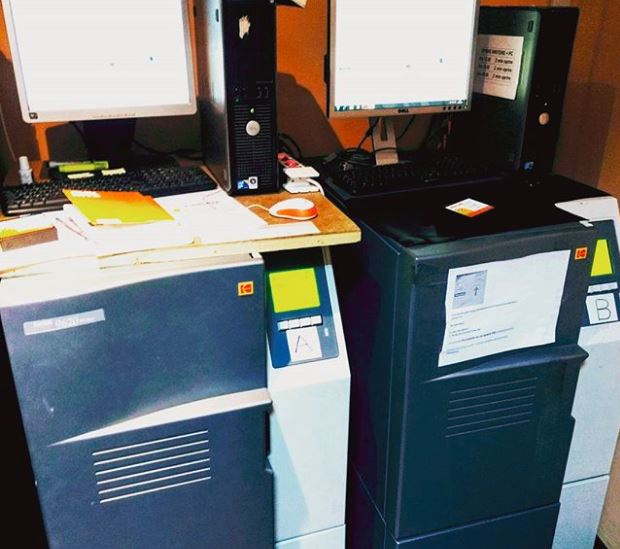
Today, the process is much simpler with a digital archive writer. A digital archive writer allows you to directly transfer digital files onto a 16mm or 35mm microfilm roll. This process is quicker and offers higher quality control since you can edit and clean images before they are written to film. Digital files allow for better image resolution and ensure that your files are accurately transferred.
Step 3 – Developing and Processing the Microfilm
Once the documents have been written onto the microfilm, it’s time for processing. This is where the magic happens, as the images on the microfilm are revealed through a series of chemical treatments.
- Exposure and Development: After the film is written, it is exposed to light in a special developing tank. The chemicals used, such as a developer and fixer, help stabilize the images on the film.
- Rinsing and Fixing: After exposure, the film is rinsed in water to remove excess chemicals, leaving behind a permanent image of the documents.
At this point, the microfilm will appear as a reduced copy of the original document. It’s just like making a photocopy, but much smaller and stored on microfilm.
Step 4 – Quality Control
Once your microfilm is processed, it’s time to perform a quality check. This ensures that the images are clear, readable, and accurately captured.
Tools for Quality Control
- Densitometer: This tool measures the darkness (density) of the images. It ensures that the images are not too dark or too light. Each type of document will require specific density values, which must be checked for consistency.
- Microfilm Reader or Scanner: Use a microfilm reader or scanner to inspect the microfilm visually. Check for blurriness or other issues like incorrect reductions. A microfilm scanner can also help you digitize the images for future use.
Step 5 – Storing the Microfilm
After quality control, you can store the microfilm. Make sure to label and catalog the microfilm so that it can be easily retrieved in the future. Store the film in a cool, dry place to ensure long-term preservation.
How to Create Microfiche
Microfiche is another form of micrographic media, but it comes in the form of flat sheets, rather than rolls of film. If you’re interested in making microfiche, there are two methods to consider:
Method 1 – Using a Digital Microfiche Writer
A digital microfiche writer can transfer digital files to microfiche sheets, typically sized 105x148mm. These machines allow you to adjust the reduction size, contrast, and brightness, giving you control over the final product.
Method 2 – Using a Hybrid Microfiche System
Another option is to use a hybrid microfiche system. This combines a digital scanner and a microfilm writer, transferring scanned documents directly onto microfiche. This method can be efficient if you regularly need to scan documents and convert them to microfiche.
Final Thoughts on Making Microfilm and Microfiche
Creating microfilm and microfiche has never been easier. Whether you are using a traditional microfilm camera or a digital archive writer, the process is more efficient and offers higher-quality results than ever before.
- Choose the Right Equipment: Depending on the documents you’re working with, choose the right equipment (16mm or 35mm microfilm, digital microfiche writer, etc.).
- Quality Control Matters: Don’t skip the quality control step. It ensures that your microfilm will be usable and legible for years to come.
- Consider Outsourcing: If you find the process overwhelming or time-consuming, consider outsourcing to a professional service. Many companies, like ours, offer microfilming services to help you convert your documents with ease.
If you need assistance with creating microfilm, don’t hesitate to reach out to us. We have the tools and expertise to help you every step of the way. For more information on the microfilming process, check out our detailed guide or contact us today.


