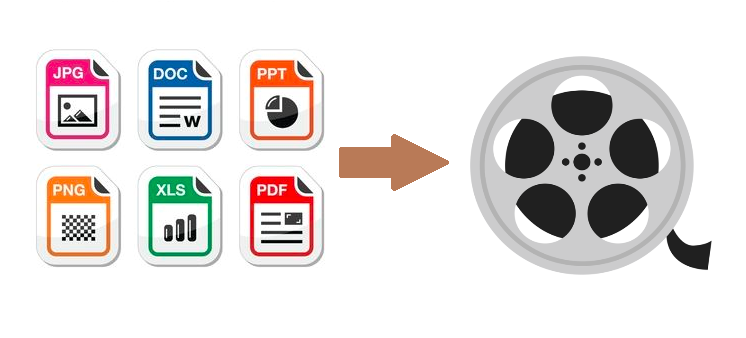
Digital to microfilm conversion does not have to be hard.
In fact, we think it’s easier today than it ever was. Just to get a better understanding on how this process works here is the 5 simple steps you should follow to convert digital files to microfilm media:
- Identify the digital files that need to be converted to microfilm.
- Analyze if they respect the file format requirements, they are clearly scanned and are in logical order.
- Once you perform step 2, load the archive writer with a microfilm roll ( 16 or 35mm ) and start the exposure process.
- As soon as step 3 is over, send the microfilm roll for processing. Using a chemical processing method, you will be able to reveal the exposed information.
- When you finish processing, check for any quality issues with the roll and if everything is clear, you have successfully done digital to microfilm conversion.
Before we start going over this list in detail, let’s cover some of the theoretical aspects of this process.
Why convert digital images to microfilm
The simple answer is that you convert digital images to microfilm in order to produce an analog backup of your digital files.
Most digital media on the market is subject to damage from aging, viruses or even partial or total obsolescence. CD’s or DVD’s can be hard to read today, because of the large failure rate of media and media reading devices.
When is conversion from digital to microfilm necessary
We think you should convert your documents to microfilm when they are of critical importance. Microfilm is a great back-up solution compared to digital media, because it will withstand the test of time better.
Microfilm is an insurance policy, when every other storage solution has failed. It can be read with a magnifying glass and the naked eye. Reading technology is easily available and quick to find.
Especially these days when you have digital access to your documents, microfilm can be used as an alternative option to back-up critical data.
Should you switch to microfilm
You should not switch from digital to microfilm, or the other way around. Use these solutions together to optimize your storage and manage risks.
Use digital for daily tasks, where you need quick access to your digital files. Digital media still has the fastest access speed and increased retrieval efficiency.
On the other hand, you should use microfilm to back-up your critical data for long periods of time. As a quick tip, you can use the digital files to create your microfilm copies directly.
Read the following article to find more information on the advantages and disadvantages of microfilm
Hardware required when converting digital files to microfilm
Today we use archive writers to convert digital documents directly to microfilm.
The reasons we use this kind of technology instead of converting paper to microfilm are the following:
- We can process digitally created documents, scans and just about any raster type of digital file.
- Converting digital files to microfilm is much faster than converting paper documents.
- The process is less labor intensive and has significant cost savings compared to traditional paper conversion.
- We can audit the process much easily and meet standards for information privacy and data protection.
There are two types of microfilm writers:
- Roll Film Microfilm Writer – This kind of equipment writes digital files to 16mm or 35mm roll film media. Some equipment work with standard silver halide microfilm rolls, other equipment need special microfilm, such as Reference Archive 16mm Microfilm.
- Microfiche Writers or Com Machines – This kind of writer creates microfiche from the digital files you supply. Microfiche cards are usually 105mm by 148mm and hold a matrix of reduced in size images.
Which microfilm you should choose
As you probably know, microfilm comes in two separate sizes: 16mm and 35mm rollfilm. If you want to learn more about this, read our article on types of microfilm currently in use.
Using one or the other depends on personal preference, costs, equipment and size of image :
- We always say that if the images are not larger than A3, our personal preference is to use 16mm microfilm. The writing process is faster, the rollfilm has a smaller size factor and you can fit more images onto a roll.
- If you take into account the costs, 16mm microfilm is cheaper than 35mm microfilm. Also, 16mm archive writers are much faster than 35mm equipment, resulting in improved efficiency. This leads to significant savings when it comes to labor costs.
- Some companies only have a 16mm archive writer, others have a 35mm microfilming equipment. In this sense, they are limited to using one or the other.
- Probably the most important factor is the size of the image. When you have documents that are larger than A3, we recommend you use a 35mm microfilming archive writer. If they are A3 or smaller, then 16mm microfilm will work very well.
Is it still worth converting digital images microfilm
We think that converting digital images to microfilm is still important.
But it depends on a couple of factors. For example, how important are your documents.
Microfilming is not expensive, but it’s still not worth spending money on the back-up of non important documents. On the other hand, for documents that are important, we suggest you invest in a microfilm backup.
Digital media is improving day by day, but it still hasn’t got the lifespan of microfilm. It is also prone to quick obsolescence, especially for reading devices.
In that sense, microfilm is more flexible, so we suggest you do digital to microfilm conversion for your very important documents.


